Up Animation Film (Pixar)
Dress up as Russell
A Russell costume has to be one of the funnest projects you can ever undertake! A few important elements are all you need to look as Russell, which is great for those who are looking for a quick and easy costume, but if you’d like a more elaborate costume then there are sooooo many additional elements to consider, as well! In fact, there are so many things to consider that I’ll be breaking it down to several parts.
* Note: This is a costume guide for adults who wish to dress up as him. Any adult who wishes to do so immediately gets my vote!
Parts of Russell’s Costume:
- Boy Scout Attire
- Russell’s Badges
- Backpack / Survival Items
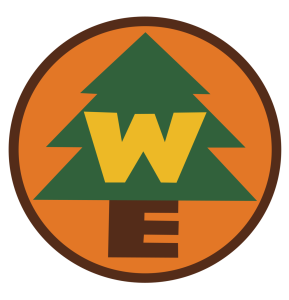
- Wilderness Explorer (WE) Logo
- Boy Scout Flag
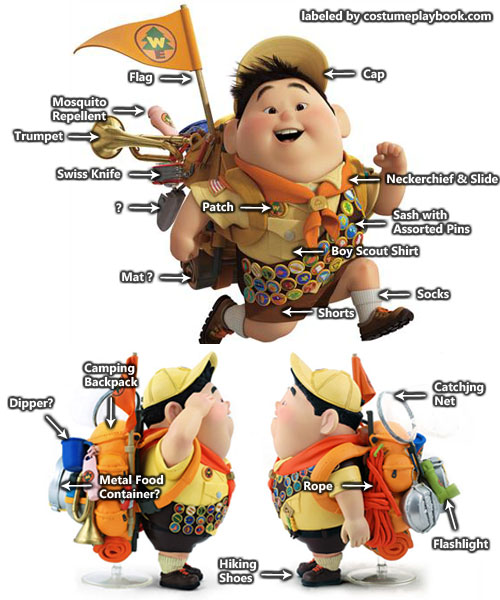
The Boy Scout / Camper Outfit
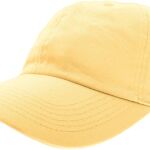 |
Yellow Cap
Russell is looking as bright and sunny as his personality in his predominantly yellow attire! First up – the yellow cap! |
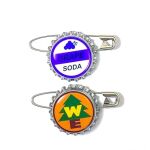 |
Wilderness Explorer Pin
So happy when I saw this online! Now there’s finally a Wilderness Explorer pin for you to easily wear. |
 |
|
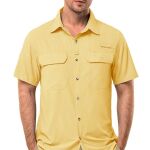 |
Yellow Short-sleeved Shirt
This shirt has pocket details just like Russell’s boy scout uniform shirt |
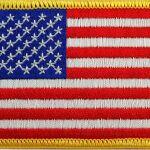 |
American Flag Embroidered Patch
For an extra detail, stitch this near the right shoulder of your shirt. Stitch loosely so that you can easily remove it after the costume event |
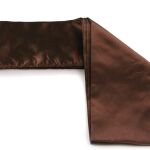 |
Brown Sash
You have to have a brown sash to show off Russell’s badges! Get this Kung Fu Sash then pin it in place with a regular safety pin. |
 |
|
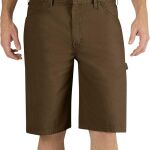 |
Brown Shorts
A pair of brown shorts completes the boy scout look. Be sure to wear white socks and hiking shoes or at least, any laced shoes |
Russell’s Boy Scout Badges / Pins!
Russell is the overachieving boy scout with a goal to get ALL the badges! It was in his quest to complete his collection that he came to cross paths with Carl. Now, if you’d like to be as overachieving as Russell, here are some tips to make all of his badges.
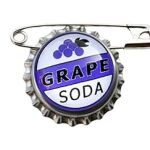 |
Grape Soda Bottle Cap Pin
This grape soda pin is the crown jewel among all of Russell’s badges. Carl gave it to him in what turned out to be one of the most poignant scenes of the movie. It was pinned on the upper portion of the sash on top of some other badges |
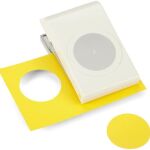 |
Circle Paper Punch – 1.5 inch diameter
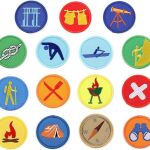
There are several ways to go about Russell’s other badges but I find that the easiest (and most affordable) way is to get some nice cardboard paper, print out the pin graphics (images are shown below), cut each up, and stick onto your sash using glue gun. You can invest in a circle paper puncher if you want to get very perfect circles each and every time but this is optional. |
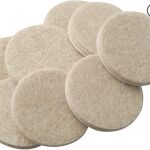 |
Round Felt Pads – 1.5 inch diameter
Another idea is to stick your paper badges onto felt pads using glue gun or some other strong adhesive. These felt circles are usually used for padding the feet of chairs and tables but should work great as a makeshift badge too! Then you can go about stitching these felt pads onto your brown fabric |
Here is a look at all of his badges. Click on the snapshot below to view the full image. Just print this out and follow the instructions above.
Russell’s Backpack and Camping Survival Items
He has as many badges as he has survival items! There are a ton of things you can bring, but I just chose some of the more prominent ones. Apart from these, you can bring a: mosquito repellent, flashlight, swiss knife, metal food container, and a sleeping mat.
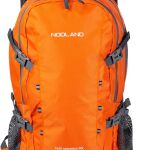 |
Orange Hiking Backpack
Russell needs an orange backpack for all his exploration adventures! This one is waterproof too, so you can definitely use it for actual outdoor trips |
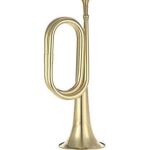 |
Golden Cavalry Trumpet
This is one of the MANY things you find attached to his bag – seriously how does Russell manage to walk around, much less run comfortably with all those things? I noticed trumpet toys are priced just the same as an actual cavalry trumpet, so why not go for the real deal? |
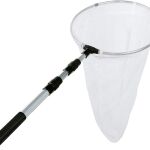 |
Catching Net
The catching net is a handy tool for explorers who wish to collect butterflies and insects to look at up close. It probably helped Russell win a badge or two, too! |
 |
|
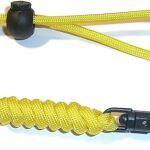 |
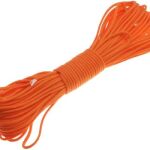
Paracord Lanyard
On the lower right image, you will see strands of yellow and green vertically standing near Russell’s belt. I’m not quite sure what that is but my initial guess is some sort of paracord like this lanyard here? It would be a good addition to an outdoor survival kit |
The Wilderness Explorer Logo
Russell’s Wilderness Explorer logo appears in several pieces of his costume:
1. On the flag (more about it on the next section)
2. On the pin that holds his neckerchief together
3. On the right side chest area of his shirt
4. Somewhere at the lower portion of his shirt where the yellow and green details (paracords maybe?) are
* Special thanks to Sol and Rachel blog for this awesome logo graphic!
How to make an Easy Boy Scout Flag
1. Making this flag is just like making bunting. The easiest way, I find, to do this is first to figure out how big you want your flag to be. Once you know that, multiply the intended width of your flag by 2. This is how wide your paper should be.
2. Now, get an orange cartolina or plain orange wrapping paper and cut it to the width required. The height should be the actual height of the flag.
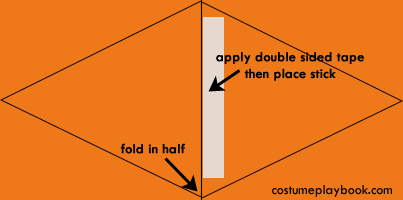
3. Now draw a triangle. The base should be where the fold is so that when you cut it, you form a sort of diamond (diagram below illustrates). Cut the triangle to get a diamond.
4. Apply double sided tape on one of the sides, place the stick then fold to stick both sheets of paper together.
5. Now stick the printed Wilderness logo on top of it, or draw the logo. Voila! You should now have an Up Wilderness Explorer flag.
Table of Contents
Click on any of the characters below to view their costume guides.


